
How to Install IntelliJ IDEA (Free Community Edition)
IntelliJ IDEA is an integrated development environment (IDE) for Java and other programming languages, built by JetBrains. In the previous lessons we wrote code in a plain text editor and ran it from the command line. In real-world development almost nobody works that way: an IDE handles code completion, error highlighting, running and debugging your programs. There are other Java IDEs as well — Eclipse and NetBeans, for example — but in this course we use IntelliJ IDEA because it is the most popular choice among Java developers.
In this guide we will download and install IntelliJ IDEA Community Edition for free and walk through the process step by step on Windows, macOS, and Linux.
Community vs Ultimate: which one to choose
IntelliJ IDEA comes in two editions:
| Edition | Price | Best for |
|---|---|---|
| Community Edition | Free and open source | Learning Java and Kotlin, console and desktop apps, Maven/Gradle |
| Ultimate Edition | Paid (30-day free trial) | Web, Spring, databases, JavaScript — professional development |
If you are just starting to learn Java, the free Community Edition is more than enough — that is the one we will install.
Good to know
Since version 2024.1 JetBrains ships both editions in a single installer: you download one distribution and the Community features stay free with no time limit. On the download page you simply pick the «IntelliJ IDEA Community Edition» option. Older screenshots that show separate downloads may look slightly different, but the steps are the same.
Downloading IntelliJ IDEA
Open the download page on the JetBrains website — JetBrains is the company that develops IntelliJ IDEA. At the top of the page, select your operating system: Windows, macOS, or Linux.
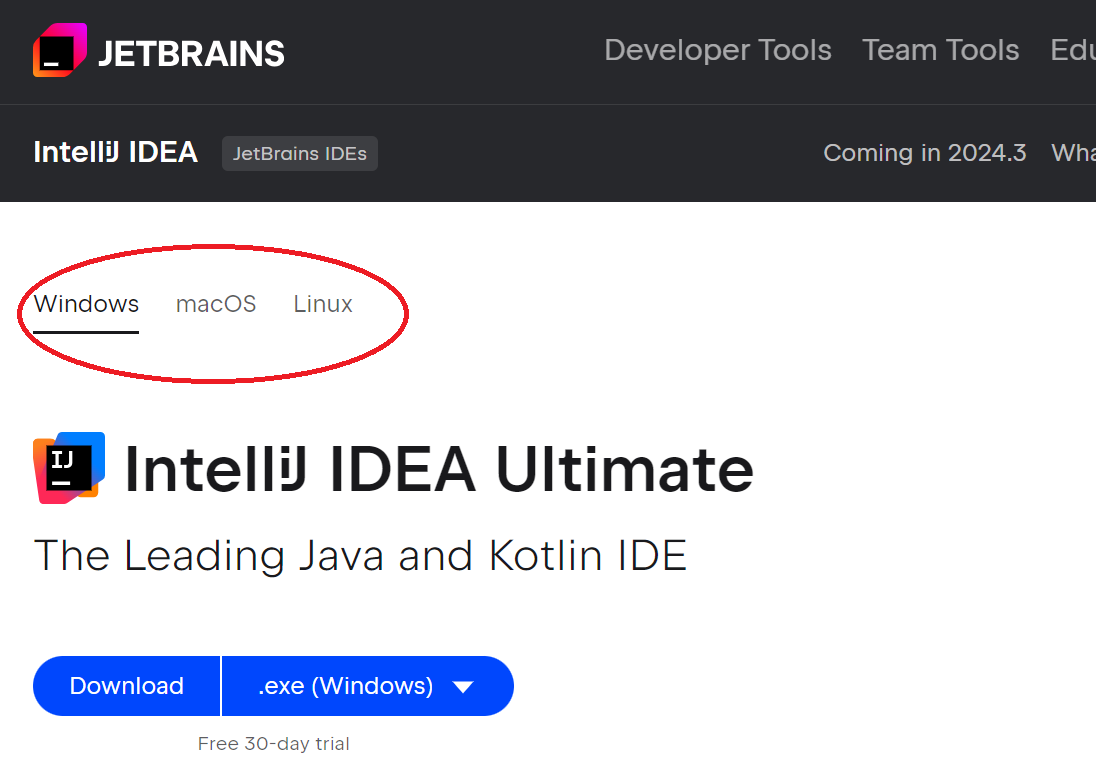
Click the Download button.
Installing on Windows
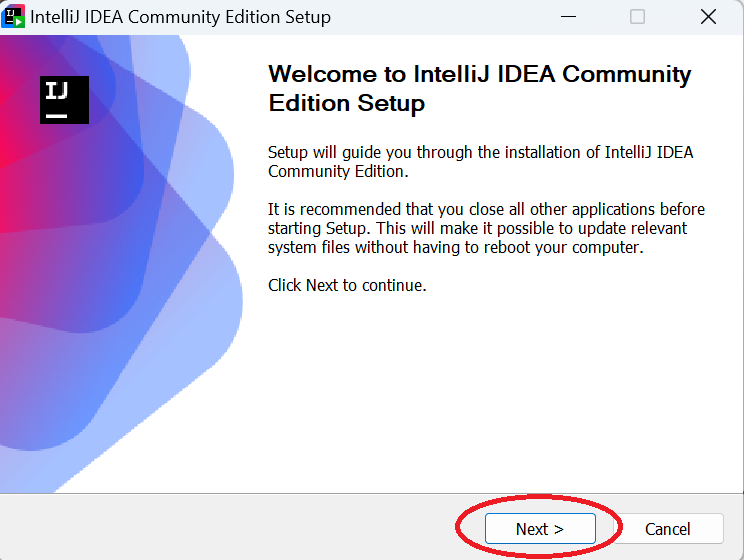
After the download finishes, run the installer (the .exe file). On the welcome screen click Next:
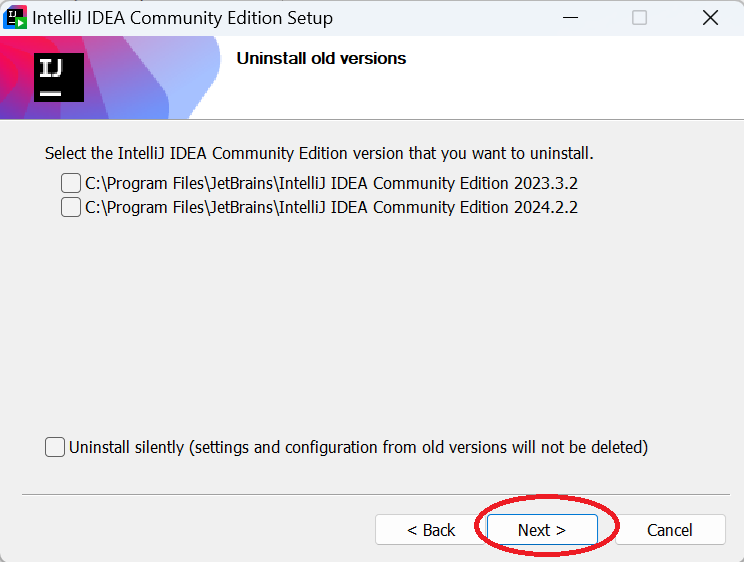
If you already have older versions installed, the installer offers to remove or keep them. Choose the option you need and click Next again:
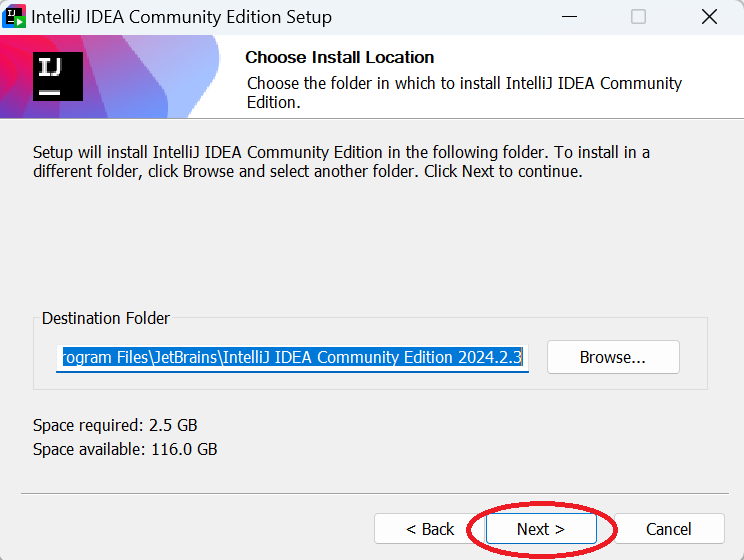
On the next step you can set the Destination Folder for IntelliJ IDEA or keep the default path. Click Next:
Here it is handy to tick Create Desktop Shortcut, and under Create Associations check .java so that these files open in the IDE. Click Next:
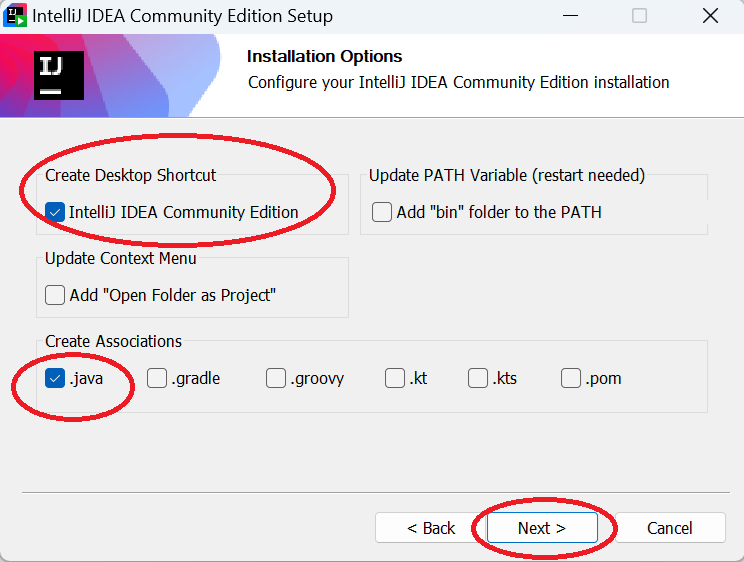
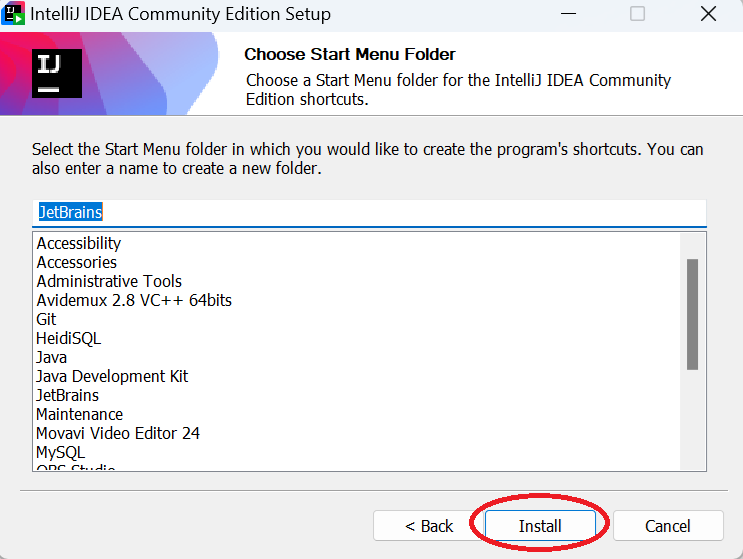
On the last screen click Install and wait for the installation to finish:
When it is done, you can tick Run IntelliJ IDEA Community Edition to launch it right away and click Finish:
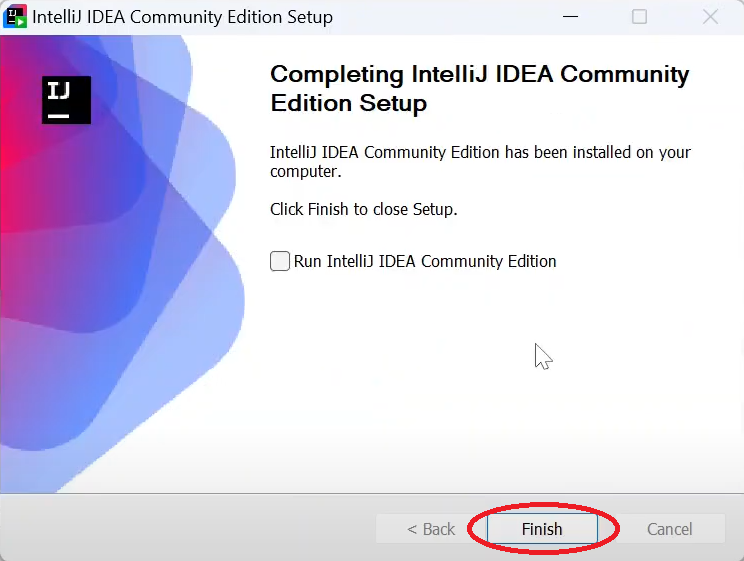
The Windows installation is complete — the IDE is ready to launch.
Installing on macOS
For macOS the download page offers two builds: .dmg (Intel) and .dmg (Apple Silicon). Pick the build that matches your processor: choose Apple Silicon for Macs with M1/M2/M3 (or newer) chips, and Intel for older Intel-based Macs. Then:
- Open the downloaded
.dmgfile. - Drag the IntelliJ IDEA CE icon into the Applications folder.
- Launch the IDE from Launchpad or the Applications folder. On the first launch macOS asks you to confirm opening an app downloaded from the internet — click Open.
Installing on Linux
On Linux the easiest way to install IntelliJ IDEA is through the JetBrains Toolbox App or a snap package. To install from the terminal:
sudo snap install intellij-idea-community --classicIf you do not use snap, download the .tar.gz archive from the download page, extract it, and start the IDE with its launcher script:
tar -xzf ideaIC-*.tar.gz -C ~/opt
cd ~/opt/idea-IC-*/bin
./idea.sh
On the first run, idea.sh offers to create a menu entry, which makes it convenient to open the IDE later.
Tip
If you plan to keep several IDE versions or use other JetBrains products, install the Toolbox App — it downloads, updates, and removes your IDEs on all three operating systems. You do not need to install a JDK first: IntelliJ IDEA can download the right Java version for you when you create a project.
First launch and what comes next
On the first launch the IDE asks you to accept the user agreement and pick a theme (light or dark). After that the welcome screen opens, where you can create a new project or open an existing one.
In the next lesson we will take a closer look at creating a project in IntelliJ IDEA and write our first Java program.
Frequently asked questions
Is IntelliJ IDEA free?
Yes. IntelliJ IDEA has two editions. The Community Edition is completely free and open source — it is all you need to learn Java. The Ultimate Edition is paid (with a 30-day free trial) and is aimed at professional web development, Spring, and database work.
Do I need to install a JDK separately before IntelliJ IDEA?
Not necessarily. When you create a new project, IntelliJ IDEA can download and set up the JDK for you. You only need a separate JDK installation if you want a specific build or plan to run programs outside the IDE.
Which IntelliJ IDEA file should I download?
Download IntelliJ IDEA Community Edition for your operating system. On Windows that is the .exe file, on macOS the .dmg (choose Intel or Apple Silicon depending on your chip), and on Linux the .tar.gz archive or the snap package.
What is the difference between IntelliJ IDEA, Eclipse, and NetBeans?
They are all IDEs for Java. IntelliJ IDEA by JetBrains is considered the most popular thanks to its smart code completion, powerful refactoring, and helpful inspections. Eclipse and NetBeans are fully free, but many beginners find their interfaces less approachable to start with.
Comments